
MICROCEMENT INSTALLATION GUIDE
Read this guide in full before beginning any COAT microcement installation.
COAT microcement is a professional, multi-layer coating system. To ensure correct installation, the work should be completed by a trained and experienced applicator familiar with substrate preparation, mesh reinforcement, epoxy primers, cementitious coatings, diamond sanding and two-component sealers.
Every project must be assessed individually. Substrate condition, moisture, movement, temperature, ventilation and site conditions can materially affect the installation. Any concerns should be documented and raised with the client before work begins
REVIEWING THE PROJECT
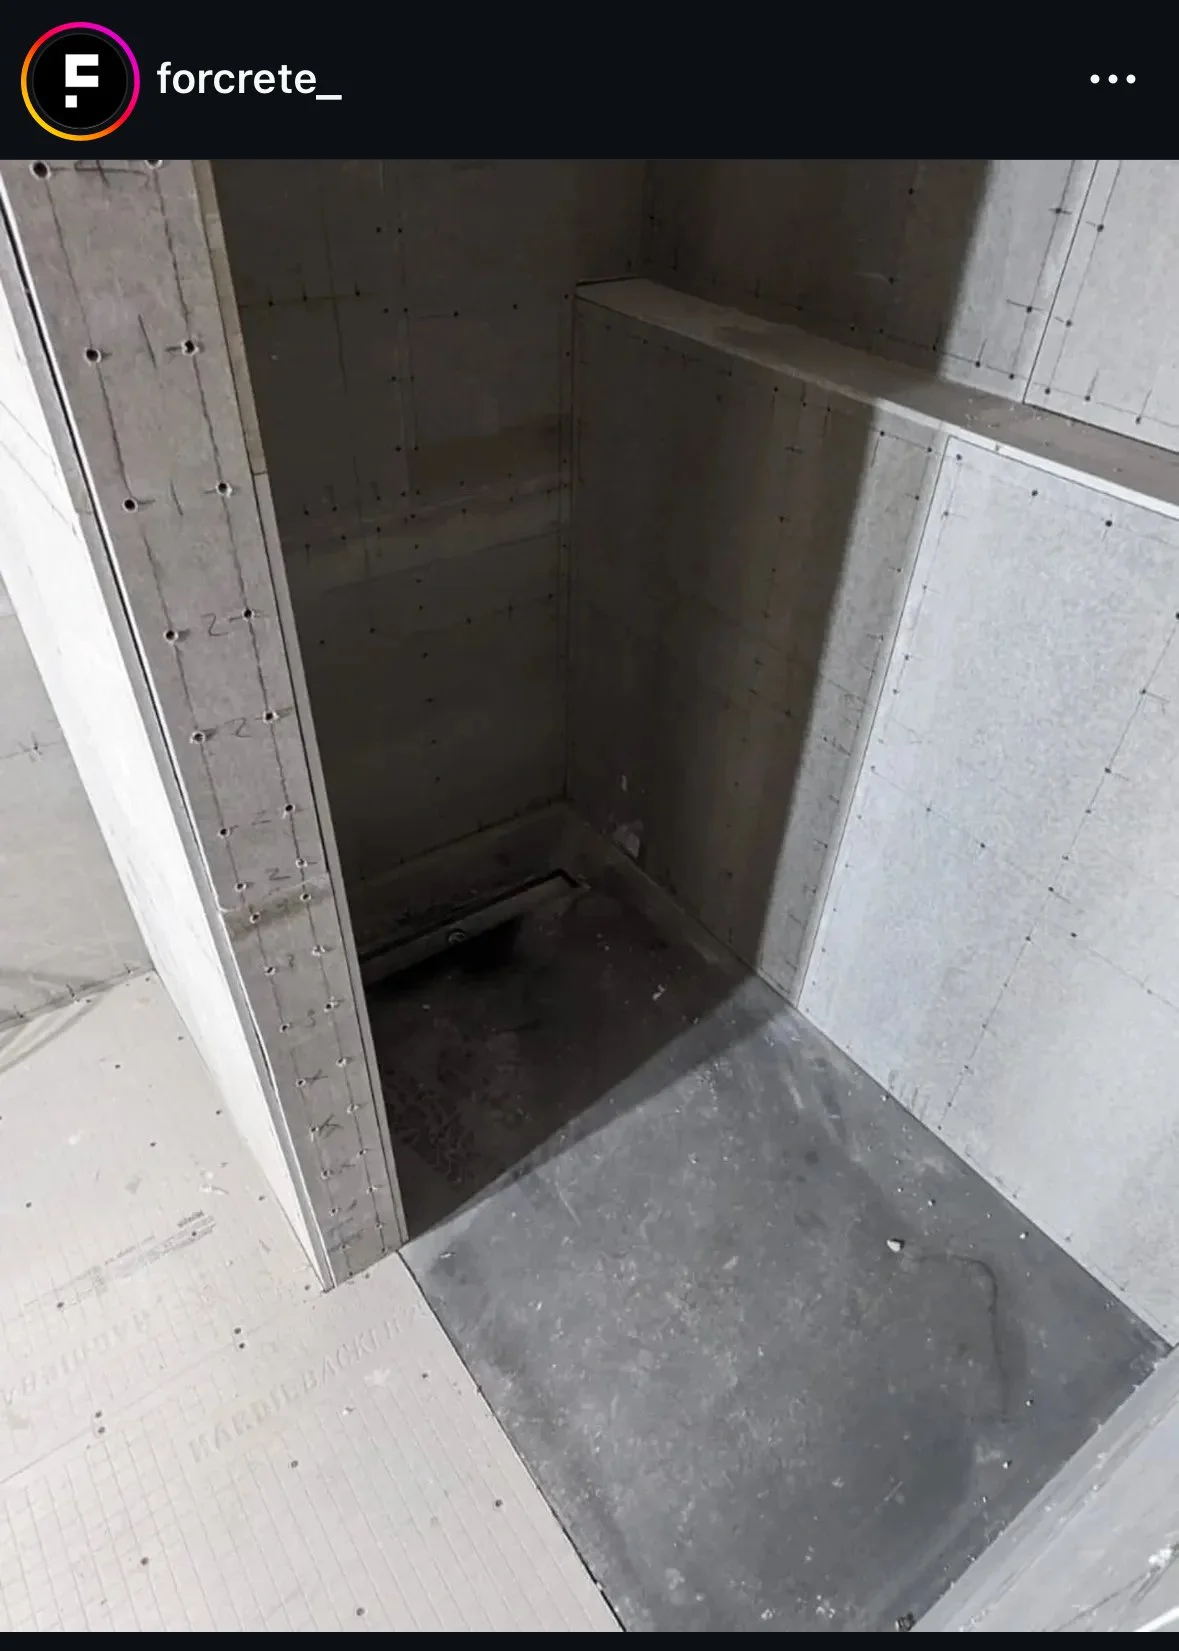
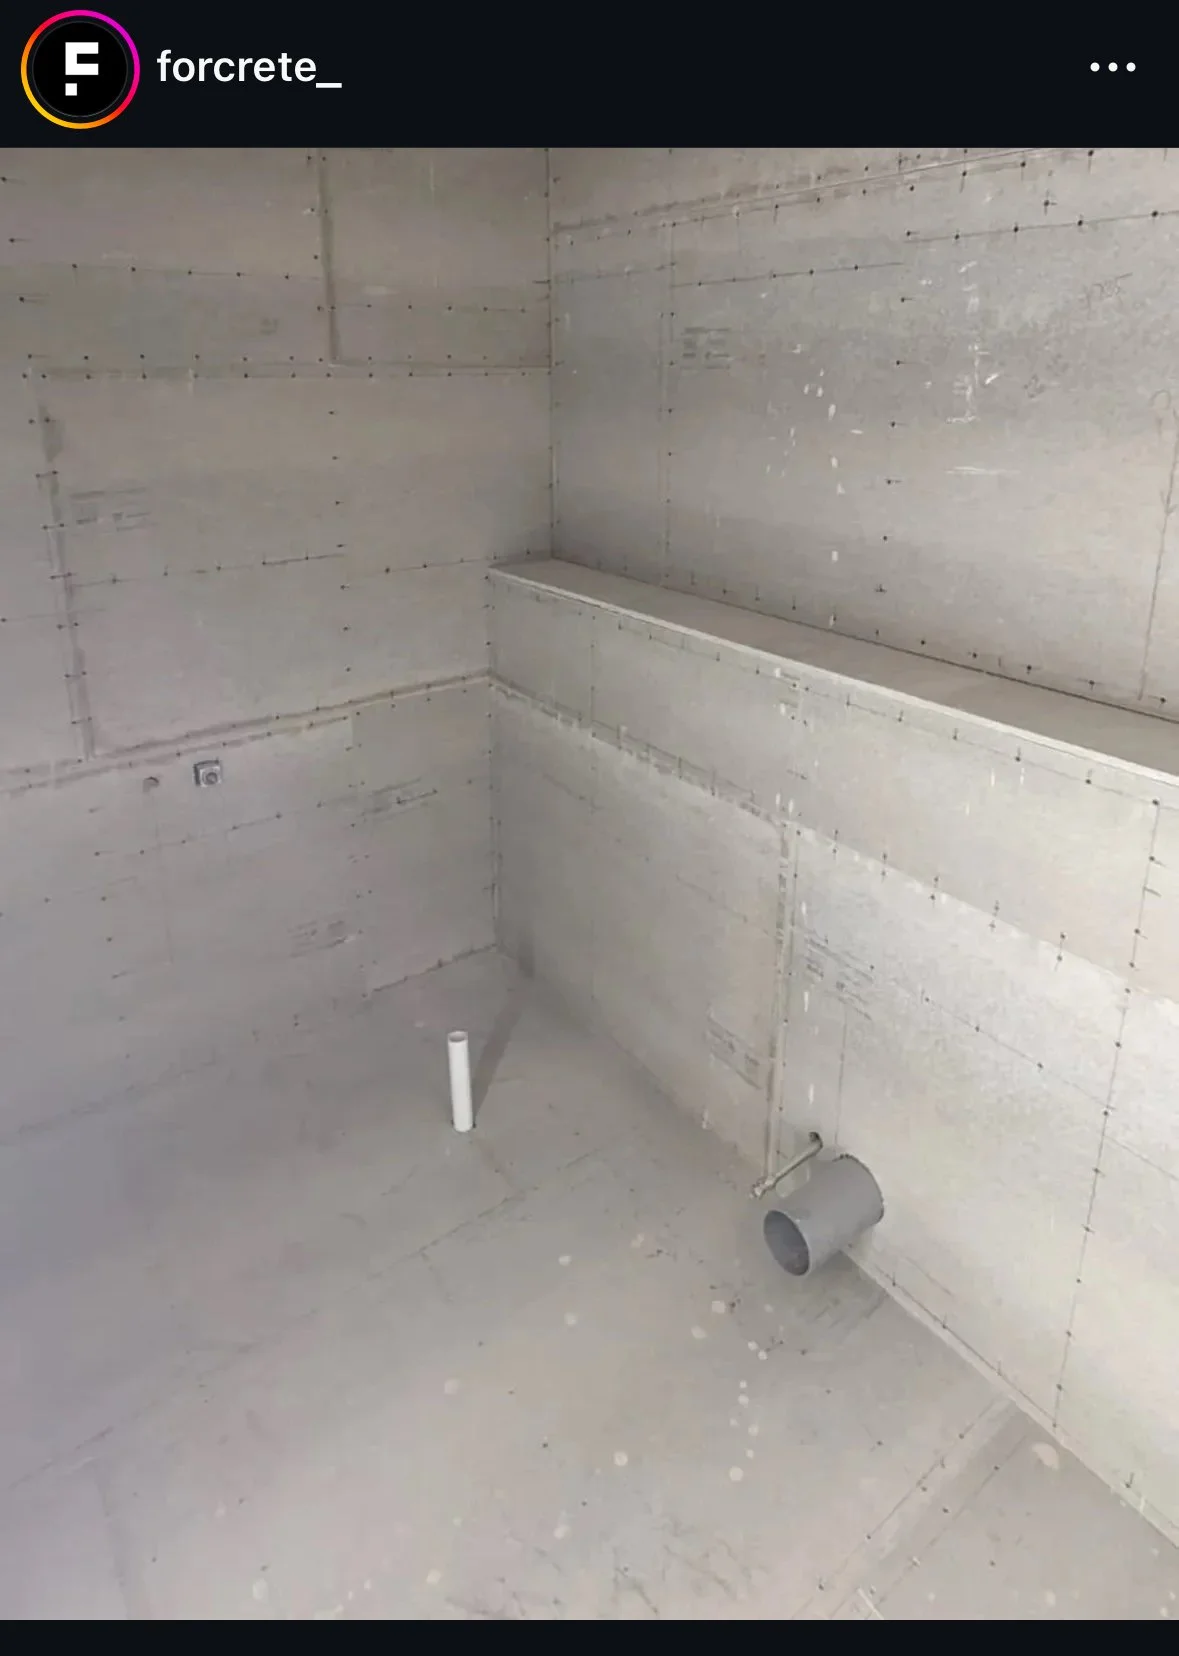
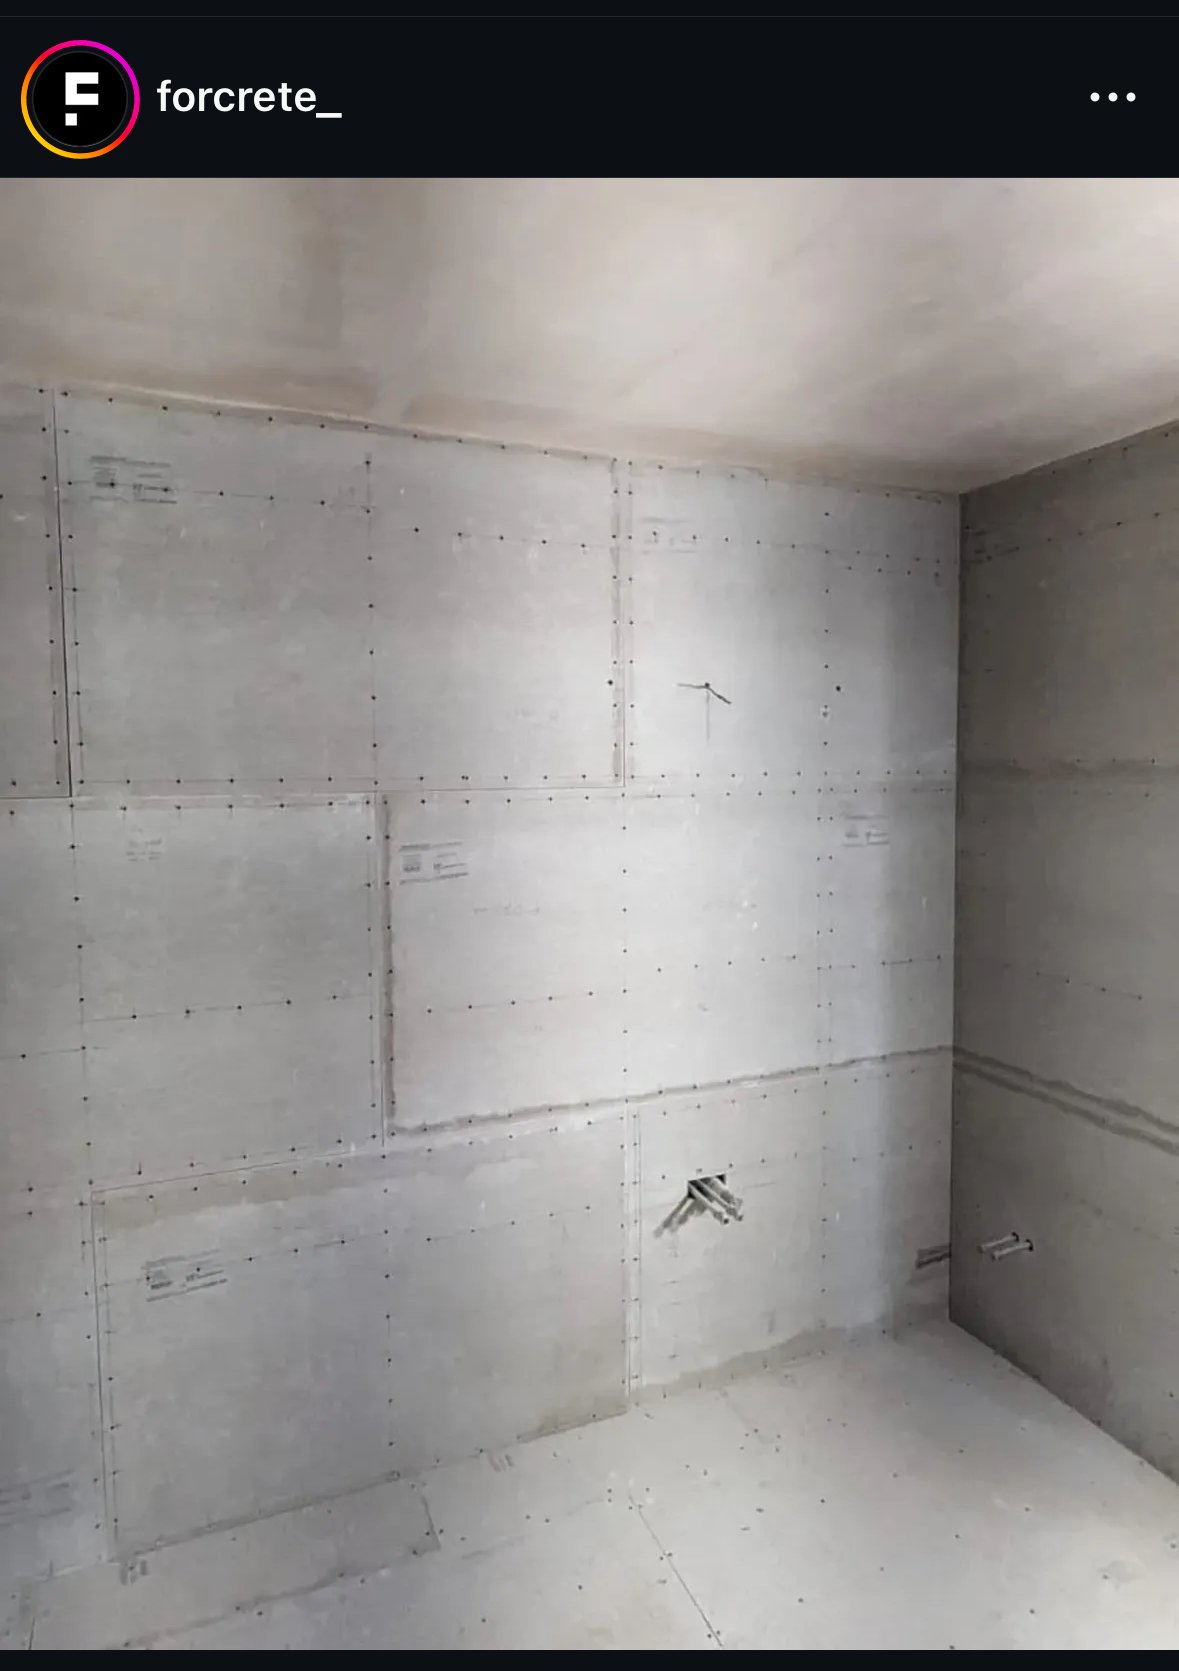
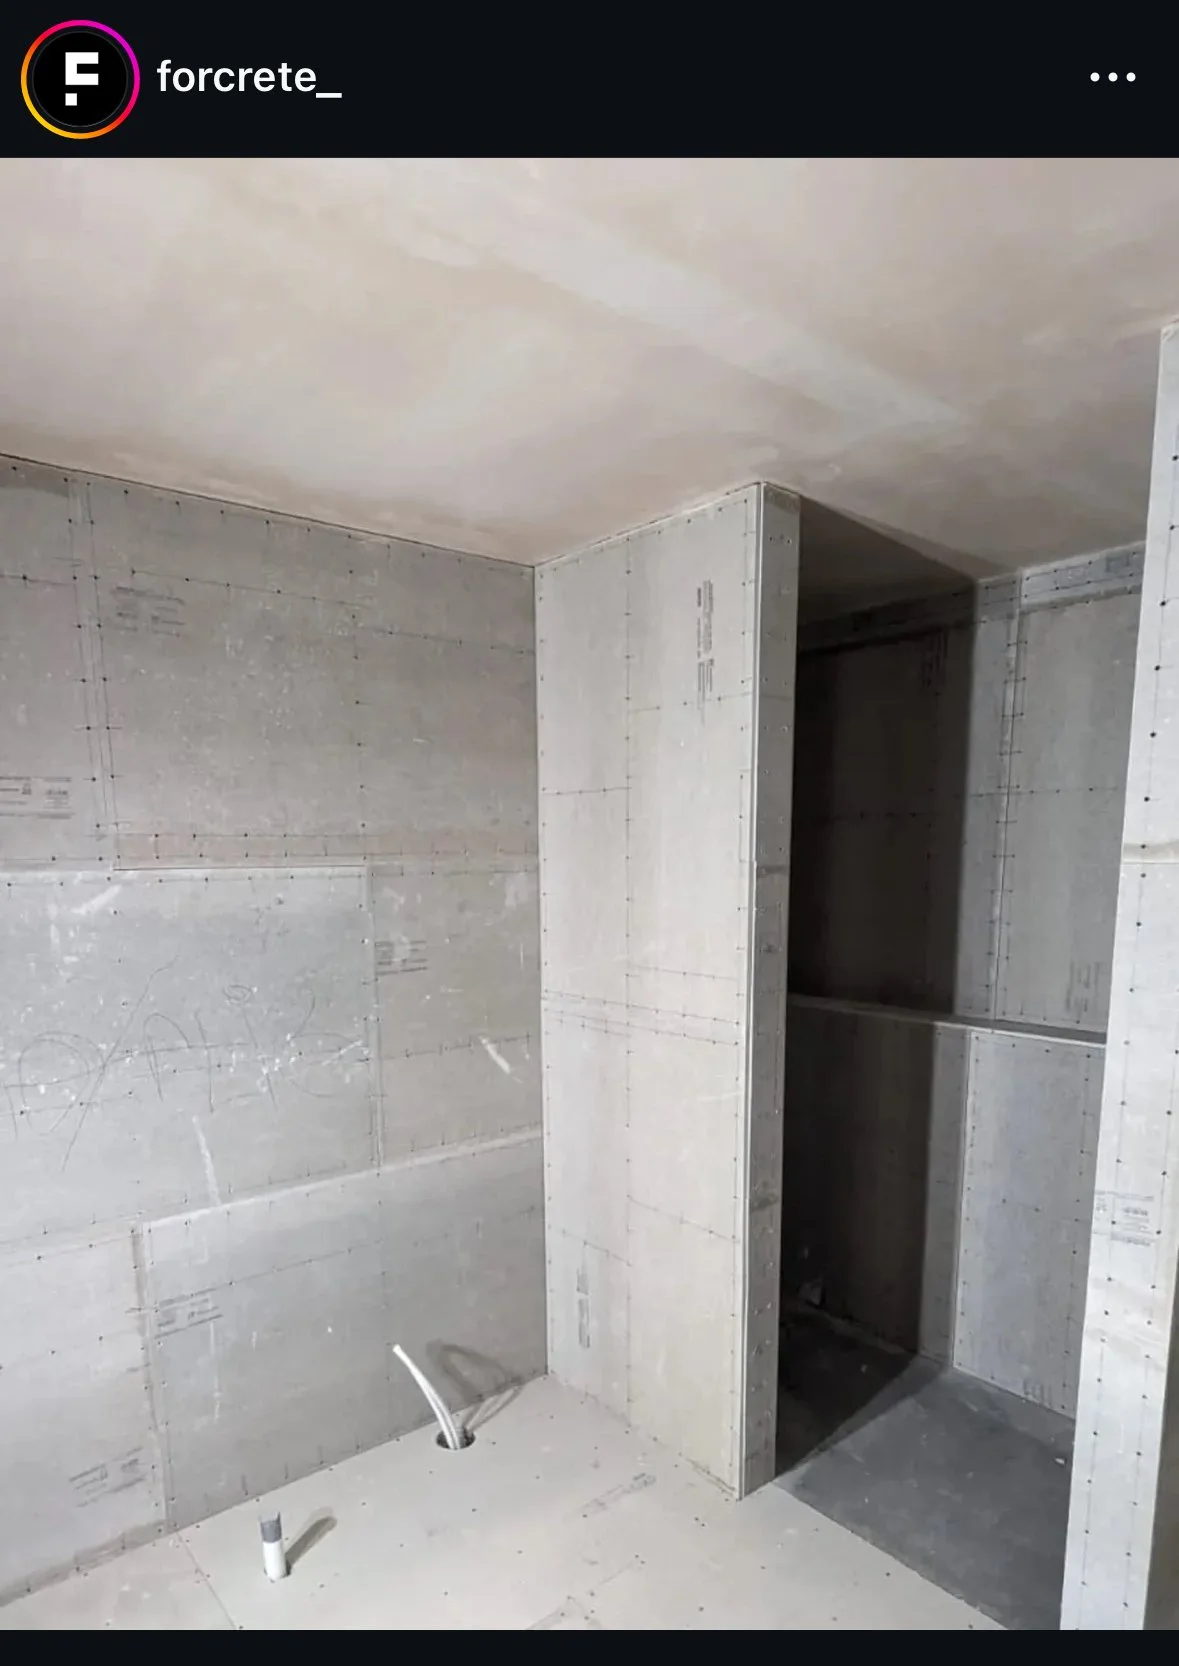
Before materials are applied, inspect the entire installation area carefully.
Check for:
Flex, movement or bounce in walls and floors
Loose, unstable or damaged substrates
Large openings around plumbing fixtures
Protruding or non-countersunk screws
Uneven surfaces, ridges and high points
Cracks, voids or damaged board joints
Moisture-related concerns
Incomplete waterproofing or plumbing work
Uncommissioned electric underfloor heating
Any issues that may affect performance should be corrected before installation begins. Photograph and document existing defects and obtain written confirmation from the client where appropriate.
Electric underfloor heating must be tested and commissioned before the microcement installation begins.
BEFORE BEGINNING INSTALLATION
All plumbing, drainage, electrical work, substrate boarding and waterproofing-related preparation should be completed before finish installation starts.
The installation area should be:
Structurally sound
Stable and free from excessive movement
Clean and dry
Protected from dust and contamination
Maintained at a suitable, consistent temperature
Properly ventilated without strong direct airflow
Free from active water leaks
Do not apply microcement over unstable, contaminated, wet or insufficiently prepared substrates. DO NOT use microcement for filling cracks, gaps, holes or leveling.
Ensure all products are from the correct batch, have been stored appropriately and are within their stated shelf life.
REQUIRED MATERIALS
The specific materials required will depend on the substrate and selected finish.
Preparation and reinforcement
Two-component repair filler, such as U-POL
Plaster scrim tape
Staple gun or suitable mesh-fixing system
Hot glue gun for floor mesh installation
Microfiber mop
Masking tape and protective sheeting
Microfiber paint rollers - 4 inch, 9 inch
Roller trays, cages and poles
Paint brushes
Diamond sanding pads for walls - 50/100/200 grit
Diamond grinding pads/cups for floors 36/50/100/200 grit
Polishing pads 400/800/1500/3000 grit
Suitable dust extraction
Industrial vacuum
Orbital sander (5 or 6 inch)
Drywall sander (9 inch)
Walk-behind floor grinder (17 inch)
Angle grinder
Mixer and mixing paddles
Clear mixing buckets
Digital scale
Gloves, knee pads, dust mask, ear and eye protection
Cleaning supplies - rags, brushes, acetone
Trowels - hard steel trowel 10-14 inch, flexible steel trowel 10-14 inch, finishing trowel 9 inch
Spatulas
Appropriate floats
Primers:
PRIMER-COAT-WALL
PRIMER-COAT-FLOOR
base COATS
BASE-COAT XL
finish COATS:
FINISH-COAT L
FINISH-COAT M
FINISH-COAT S
Sealers
2KPU-COAT
MONO-COAT
FILLER
FLOOR WAX
INSTALLATION
DAY 1 — SUBSTRATE PREPARATION AND FIRST WALL BASE-COAT
1. Assess the substrate
Inspect all wall and floor surfaces before starting. Identify movement, flex, holes, loose joints, high spots, exposed fixings and other defects.
Raise any concerns with the client before proceeding.
2. Mechanically prepare all surfaces
Prepare floors using diamond grinding and walls using diamond sanding.
The objective is to:
Remove surface contamination
Eliminate weak laitance
Flatten ridges and high areas
Provide a suitable mechanical key
Create the flattest possible installation surface
3. Repair defects
Fill holes, voids and damaged areas using a suitable two-component repair filler.
Once cured, sand repairs thoroughly until flush with the surrounding surface.
Vacuum all areas carefully. Surfaces must be as dust-free as possible before priming.
4. Prime walls AND FLOORS
For porous wall substrates, including bare plaster and cement board, apply: WALL-PRIMER-COAT
at approximately 60–80 g/m²
Allow the primer to dry, generally within approximately 30–60 minutes depending on conditions.
For non-porous wall and all floor substrates, apply:
MVB-PRIMER-COAT
Non-porous primers must be fully blinded with sand where required to create a mechanical key.
Allow the primer to dry, generally within approximately 30–60 minutes depending on conditions.
5. Reinforce corners and walls
Once floor primer is cured, reclaim excess sand. Sand the surfaces that received MVB-PRIMER-COAT with 100 grit diamond pads. Vacuum the dust.
Apply plaster scrim tape to all internal and external corners.
Install 160 g fiberglass mesh across all areas using staples or another suitable fixing method.
The mesh should extend over the scrim tape, but separate sheets of 160 g mesh must not overlap one another.
6. Apply the first reinforced BASE coat
Apply BASE-COAT XL
Embed the product fully into the reinforcing mesh at approximately:
1.5 kg/m²
The mesh should be fully incorporated into the basecoat without air pockets or loose areas.
DAY 2 — SECOND BASECOAT
Thoroughly sand the first coat of BASE-COAT using 50-grit diamond pads.
Remove all high spots.
Some mesh may become visible at this stage; this is acceptable provided the reinforcement remains securely embedded.
Vacuum all wall surfaces thoroughly.
Apply 2nd coat BASE-COAT XL to all surfaces.
DAY 3 — FLOOR FLATTENING, WALL FINISH BASE AND SECOND FLOOR COAT
1. Remove excess sand
Sweep off all loose sand.
Clean and retain uncontaminated material where it is suitable for reuse.
2. Flatten the first floor coat
Use approximately 30-grit medium-bond metal diamonds to flatten the FORPRIME-HB layer.
Blue or yellow metal-bond discs may be appropriate depending on the equipment and substrate.
Remove:
High spots
Blisters
Raised mesh
Surface irregularities
Use a 125 mm grinder for edges and detailed areas.
3. Sand the walls
Use approximately 50-grit diamond pads to flatten the walls.
Pay particular attention to any areas where mesh remains visible or where the surface is uneven.
Vacuum thoroughly.
4. Apply the first decorative wall coat
Apply MICRO-QUARTZ COARSE to all wall areas at approximately:
500 g/m²
For a coarse finish, aim to apply the product as flat as possible using the trowel-and-spatula technique.
Where a smoother finish will be applied over the coarse layer, the float technique may be used for the first coat.
5. Apply the second floor coat
Apply a second coat of:
FORPRIME-HB at approximately 1 kg/m²
Fully blind the surface with kiln-dried sand until complete saturation.
Allow approximately:
25 kg of kiln-dried sand per 10 m²
DAY 4 — FINAL WALL FINISH AND FIRST FLOOR FINISH COAT
1. Remove loose sand
Sweep and vacuum the floor carefully.
2. Flatten the second floor coat
Sand the second FORPRIME-HB layer using a softer method than the first floor coat.
Suitable methods may include:
50-grit diamond pads
Carefully controlled hand grinding
Remove high areas while minimizing deep grinder marks.
The sand-blinded surface should be smooth enough to avoid excessive consumption of the decorative coating.
3. Sand wall surfaces
Sand all wall areas using approximately 50-grit diamond pads.
Remove high spots and surface irregularities.
4. Clean the installation
Vacuum all wall and floor areas thoroughly.
Dust control is critical throughout the installation.
5. Apply the final wall finish coat
Apply the selected MICRO-QUARTZ finish:
COARSE
MEDIUM
SMOOTH
Apply at the coverage rate specified for the selected product and desired finish.
6. Apply the first floor finish coat
Carefully apply MICRO-QUARTZ COARSE to the floor at approximately:
500 g/m²
Protect completed wall surfaces from accidental damage, staining or contact during floor application.
DAY 5 — FINAL FLOOR FINISH
1. Sand walls and floors
Use the appropriate diamond grit for the selected finish:
Approximately 50 or 100 grit for MICRO-QUARTZ COARSE
Approximately 100 grit for MICRO-QUARTZ MEDIUM
Approximately 100 grit for MICRO-QUARTZ SMOOTH
Vacuum all areas thoroughly.
2. Protect the wall-to-floor interface
Apply masking tape carefully around the wall and floor junction.
Take care not to damage completed wall finishes.
3. Apply the final floor coat
Apply the selected finish:
MICRO-QUARTZ COARSE
MICRO-QUARTZ MEDIUM
MICRO-QUARTZ SMOOTH
Maintain consistent application pressure, coverage and trowel technique throughout the floor.
DAY 6 — FINAL SANDING AND SEALING
1. Final sanding
Sand all surfaces to the required level of smoothness.
A 100-grit diamond pad is generally suitable for most finishes.
A 200-grit pad may be used where a finer result is required.
Adjust sanding speed, pressure and technique according to:
The selected finish
The desired appearance
The degree of surface movement
The hardness of the cured coating
Do not over-sand high points or expose underlying coats.
2. Remove all dust
Vacuum all surfaces thoroughly.
Pass over the installation with a clean microfiber mop to collect residual fine dust.
Vacuum again where required.
This is one of the most important preparation stages before sealing. Dust trapped beneath sealer may cause visible defects or adhesion problems.
3. Apply the sealer system
Apply FORSHIELD-FX or FORSHIELD-2KWB according to the selected finish and project specification.
Allow the first coat to become touch-dry or walkable before applying the following coat.
Apply the final coat of:
FORSHIELD-2KWB
Indicative drying times are approximately:
FORSHIELD-FX: 1 hour
FORSHIELD-2KWB: 3 hours
Actual drying times depend heavily on temperature, humidity, airflow, application thickness and site conditions.
Always follow the current product technical data sheets.
DAY 7 — OPTIONAL FINAL COAT AND CLIENT SIGN-OFF
Where only one coat of FORSHIELD-2KWB was applied on Day 6, apply the final coat on Day 7.
Where two coats were completed on Day 6:
Inspect the installation carefully
Review the finish with the client
Record any agreed surface characteristics
Complete the project sign-off
Provide the client with the Forcrete Microcement Aftercare Guide
Ensure the client understands the correct cleaning, curing and maintenance requirements.